Changing the blades on your riding lawn mower is as simple as removing one Phillips screw. Most residential riding lawn mowers have a self-bailing engine and require maintenance to prevent debris from clogging the engine. The blade on your riding lawn mower is one of the most regular maintenance items you’ll need to do, significantly, if you cut your grass often. Follow these steps, and you’ll be done in under five minutes.
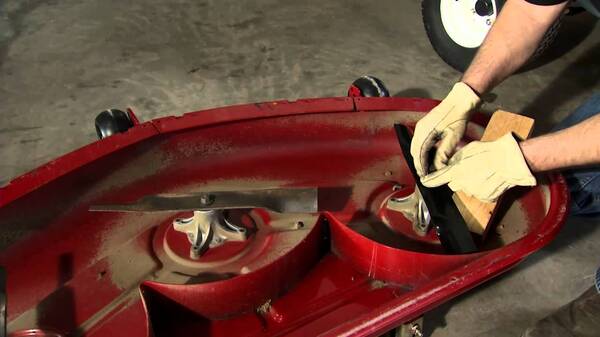
Step 1: Remove the Blade Cover
Use a screwdriver to remove the blade cover from your riding lawn mower. Once the blade cover is terminated, you’ll see the blades. Remove the screws that secure the edges in place. These screws may be hidden underneath the engine, so use a screwdriver to remove them if necessary. Your riding lawn mower blades will be secured with a clip, which you’ll need to lift off gently. Once the edge is removed, you can clean out the blade chassis and replace the blade with a new one.
Step 2: Clean Out the Blade Chassis
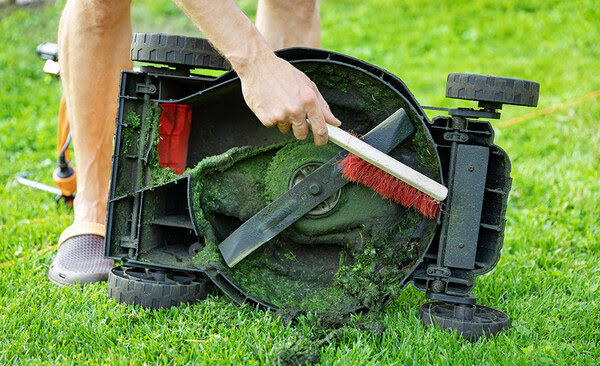
Using a screwdriver, remove the spark plug wire from the lawn mower spark plug. Ensure you remove the spark plug wire, not the spark plug itself. Clean out the blade chassis with a rag. Your lawn mower blade chassis may have grass, debris, or other particles. Use a rag and a little dish soap to clean the chassis. Use a rag to wipe out the grease plug on the lawn mower engine. A few drops of dish soap can clean the grease plug and make it ready for re-greasing.
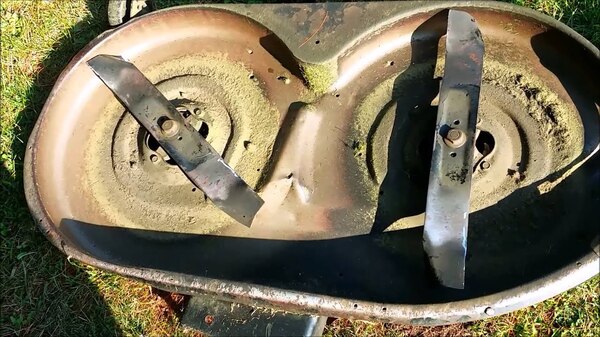
Step 3: Remove the Blades
Now that you’ve removed the blade cover and blades, you can start disassembling the engine. If you’ve removed the screws securing the edges in place, you can lift them out of the lawn mower with your hand. If the blades are secured with clips, use a butter knife to pry them off gently. Once the edges are removed, you can remove the blade spindle from the lawn mower spindle with a screwdriver. You may need to remove the starter from the lawn mower to remove the spindle entirely. If you’ve gone to the effort of cleaning the mower blades, you can now reassemble them using new blades. If you’ve just replaced the edges, you can now reassemble the engine and test drive the lawn mower.
Step 4: Install New Mower Blades

Install the new blades onto the lawn mower spindle. Ensure that each edge is clipped securely onto the lawn mower spindle. Turn the lawn mower engine on and ensure the blades are spinning freely. If they’re not, use a screwdriver to pry the blades off the spindle gently. Once the blades are free, re-install the spindle and top-up the mower blades with mower blade lubricant.
Step 5: Reattach Blade Cover and Test Drive

Reattach the blade cover and test drive your riding lawn mower. If the mower blades are still cutting as well as before, you can now store the mower for the winter. Before storing your lawn mower for the winter, check the oil in the engine to ensure it’s complete. If the mower blades are ruined, you can always change them again next season. To prevent changing the mower blades every season, clean your lawn mower blade chassis and thoroughly grease the lawn mower spindle.
Final Words
Please let us know if we missed anything in the steps listed in this post if you want to replace lawn mower blades. You can also leave a comment below.